Photoscape is one of my favorite Photo Editor, not only because it is free, but rather because of its features and usefulness. I have another article where I have talked about the features that this application brings on your desktop or Laptop. If you are interested you may read it here. In this article I focus on the main capability - that is editing Photo. I would walk you through it's features and how you can use those to your benefit.
So, hold your breath and let's get going ..
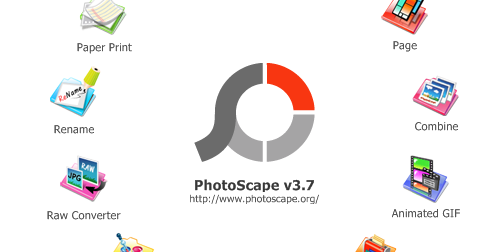
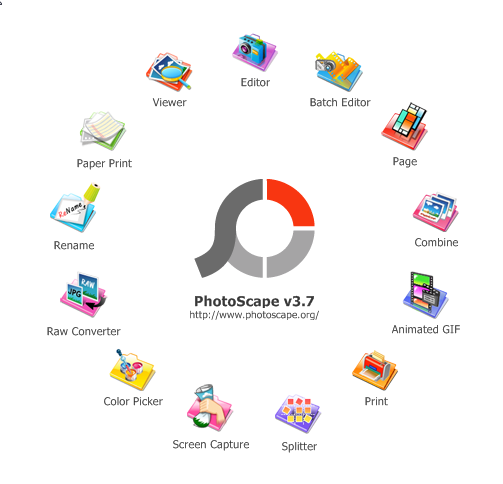
The PhotoScape has a default circular menu, where you choose what to do. For Editing you have to click on the Editor. There are other shortcuts as well. You may just start the PhotoScape and drop an Image. By default it will go to Edit mode. Also while in some other mode, any time you can come to Edit mode by clicking on Editor on the top Panel. If you are first time in the Editor mode from some other menu in this session, then it will pull the current Photo to the Editor window for editing. Similarly you can move around different Menus without changing the content on that menu. You can see limited number of Menus on the top left panel. If you want to use other features like Animated gif etc, you need to click on PhotoScape to get back the circular menu and then navigate to the desired sub menu or functional areas
So, when you click on the Editor Menu, you get the full window for editing. On the Left you get the browser window, so that you can browse through different folders and and choose the right Photo. bottom of the browser window, you would be able to see the thumbnail of the Photos. On the bottom you get the Home tab of you Editor like the following

Frame
PhotoScape comes with over 50 frames that you can apply to your Photos. Those are ranges from Rectangular to Circular or from antique to modern.
Round, Margin, Frame Line - Editing edge
You normally would go with either Frame or these three. Round is used to give a round shape at the edges. Maximum pixel allowed is 255 for the Round shape. Margin adds margin to the photo. You can choose which color would be the background of the margin. Margin and Round does go together. Though you can use it, the tool does not stop you. Frame line is an additional line added inside the edge. you can choose the thickness and color of the Frame Line
Tones
Next is the dedicated buttons for tones. You would be able to set tones in one click. Supported tones are Sepia, Bandicoot, Greyscale, B&W and Invert
Rotate
There are dedicated buttons for rotate clockwise or anticlockwise, mirroring horizontally or vertically, and finally you can also do selective rotation, which will eliminate some part of the picture
Resize
Resize is very common functionality. you can resize the picture with preset longer length in terms of pixels or can do it with custom values. You have option to keep the aspect ratio or not
Bright, Color
Clicking on the button you can have granular control on the brightness, Hue, contrast, exposure and saturation etc. But, clicking on the dropdown will give you preset configurations like Deepen, Brighten, Darken, Decolor or setting specific color tone, color temperature, Color Curves, Saturation Curve, Luminance Curve etc. and almost every option you have present sub options
Auto Level, Sharpen, Film Effect and other filters, Bloom, Backlight Correction
These are the other dedicated menu with lots of options are available. Seeing is believing. You yourself need to see and explore it's full potential
Object Tab
Next, let's look into the the Object Tab. These are mainly overlay on the Picture. Please see the menu items below

As you can see all Menus are quite familiar compared to any other Photo Editing tools. You can create Picture-in-Picture with with these
Photo
This is used to paste a picture on top of the Picture in the Editor. You can paste multiple Pictures or you may resize pictures before pasting. It is free hand to place the picture anywhere
Icon
Loads of Icons including Logos are prebuilt. You can make a photo funny with all these icons. These includes pretext for festival celebrations as well
Balloon, Text are self explanatory . Symbol are from old day symbols like from Wingdings
There are several Line options including free hand. As usual you can change the thickness and color of the line
Then there are options to create Box, Circle, Polygon and Star
Crop tab
Crop tab allows crop pictures with predefined ratios or free hand. Crop Round Image is a checkbox gives an additional edge crop round or elliptical pictures. setting 1:1 ration create a circular cropped image

Tools Tab
Tools tab is one of the amazing tab full of quite good tools.

Effect Brush
It is like any brush where you can change the size of the brush but the effect of brushing is different. following are the options for Effect brush
- Grayscale
- Sepia
- Reverse black and white
- Mosaic
- Jitter
- Crystallize
- Blur - Low
- Blur
- Blur - High
- Brighten
- Deepen
- Darken
- Smart Blur (Clear Skin)
- Brighten - High
- Deepen - High
- Darken - High
- Smart Blur (Clear Skin) — High
You can achieve amazing results by smartly using these brushes
Clone Stamp
Allow you to duplicate part of an image. Click to select an area in the image, and then click again to clone the area. Hold the shift key to clone dimly. Esc, Alt-Click: Cancel and initialize Mouse Wheel, Up, Down: Control the brush size
Mosaic
These has the following options. Effect is applied on the selected area
- Mosaic - Low
- Mosaic - Middle
- Mosaic - High
- Jitter
Mole Removal
Drag a small box around the mole to remove it. Left click the mouse and drag a small box around the mole. Release the mouse to complete your selection and the mole will be removed.
If you want to download the software, please get it from www.photoscape.org